
Creating a high-resolution video in Blender involves setting up your project with the appropriate settings and then rendering the animation. Here are step-by-step instructions:
Step 1: Open Blender and Set up Your
Scene
Open Blender and set up your 3D scene with the models, lights, and cameras you want to include in the video.

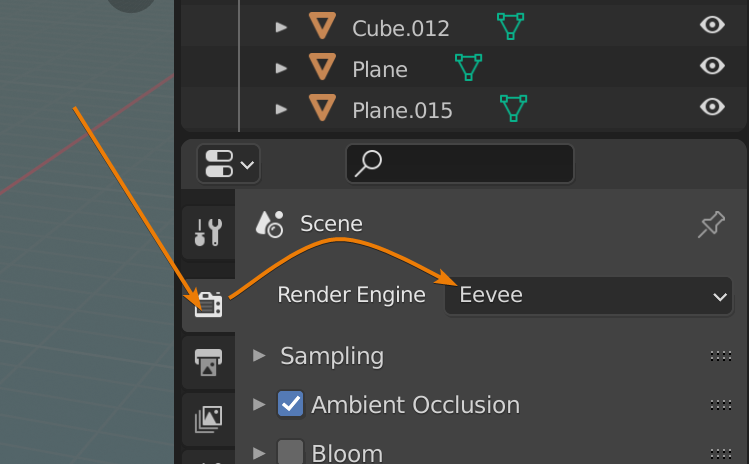
Step 2: Adjust Render Settings
Navigate
to the "Render" tab on the right-hand side (camera icon).
Set the "Render Engine" to "Cycles" or "Eevee" depending on your preference and project requirements.

Under
the "Dimensions" section, set the resolution to your desired
dimensions. For a high-resolution video, use standard resolutions like
1920x1080 (Full HD), 3840x2160 (4K), or higher.
Set
the frame range for your animation under the "Output" section. Define
the start and end frames for your animation.
Step 3: Set Output Format and Location
In the "Output" section, choose a file format for your video. Common formats include MPEG, AVI, or QuickTime.

Set
the output directory where your rendered frames and final video will be saved.
Step 4: Configure Sampling (Cycles
Render Only)
If
you're using the Cycles render engine, configure the sampling settings under
the "Sampling" section. Higher values generally result in better
quality but increase rendering time.
Step 5: Configure Eevee Settings
(Eevee Render Only)
If you're using the Eevee render engine, configure settings under the "Render" tab, such as the "Film" panel for transparent backgrounds or bloom effects.
Step 6: Save Your Blender Project
Save
your Blender project file to ensure you don't lose your work.
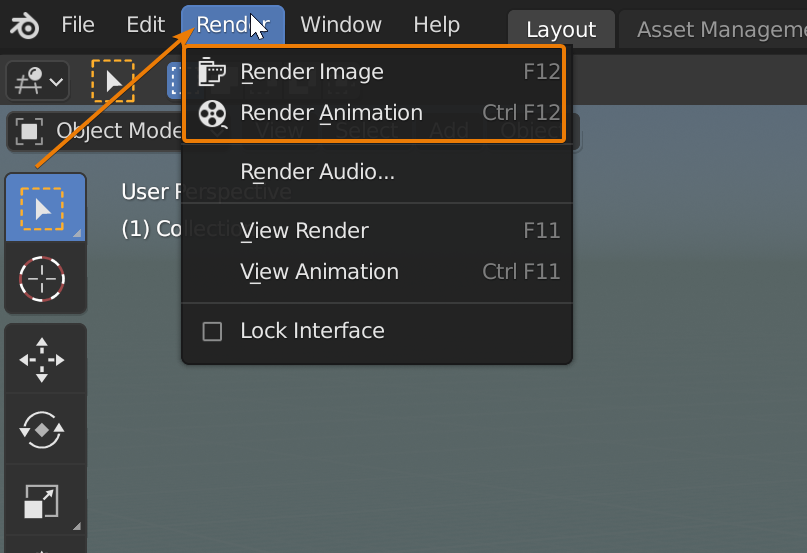
Step 7: Start Rendering
Go back to the "Render" tab and click on the "Render" button. You can choose to render a single frame for testing by clicking "Render Image" or render the entire animation by clicking "Render Animation."
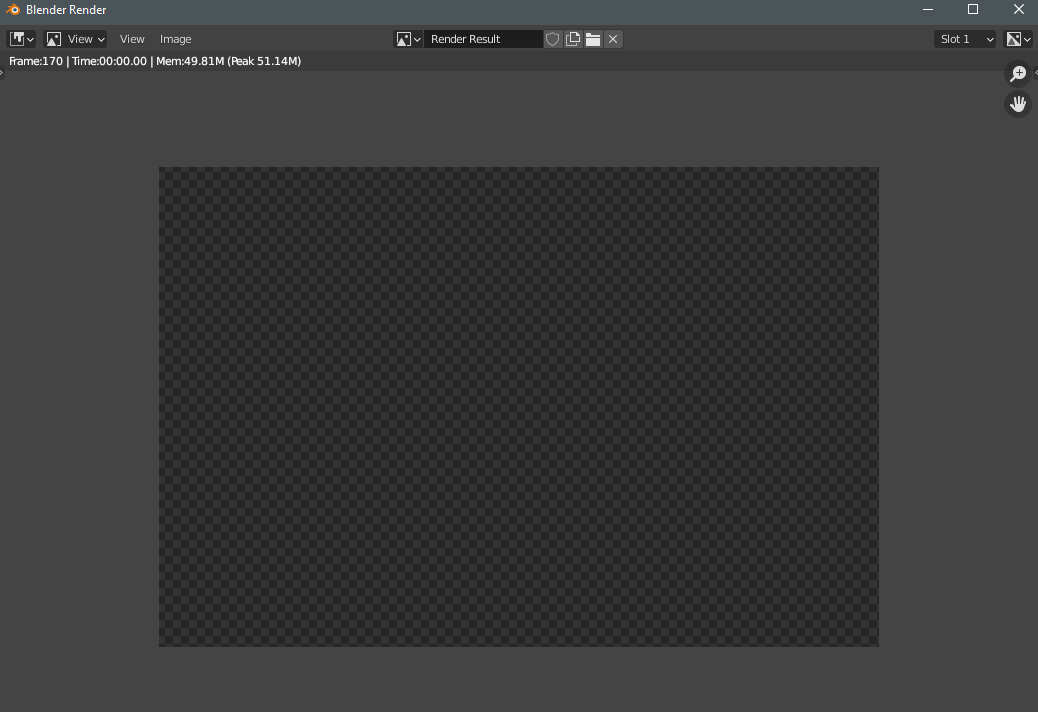
Step 8: Monitor Rendering Progress
Blender will start rendering frames, and you can monitor the progress in the top menu bar. You can pause, stop, or resume the rendering process as needed.
Step 9: Save or Export the Video
Once
rendering is complete, go to the "Output" directory you specified and
locate your rendered frames.
If you
rendered individual frames, you can use video editing software or Blender's
Video Sequence Editor (VSE) to compile them into a video. Alternatively,
Blender allows you to directly render to a video format.
Step 10: Finalize and Export
In the
"Render" tab, under the "Output" section, set the file
format to a video format (e.g., FFmpeg video).
Click
on the "Animation" button to render and save the final video.
That's it! Following
these steps should help you create a high-resolution video in Blender. Adjust
the settings based on your specific project requirements and preferences.